

You will need the OpenHab Cloud Connector for some of the tutorials that I am planning to publish over the next few weeks, like the integration with Alexa or IFTTT. For that reason, I figured it would be nice to start introducing the concept.
The OpenHab cloud connector allows you to connect your local Home Automation server to an instance of the OpenHab Cloud.
Cool…So why would I want that exactly? The are three main reasons that support the idea of installing the connector.
- Remote Access: Although there are ways to set up secure remote access to your local OpenHab server, like using a reverse proxy, this requires some tweaking with the router. If you use the cloud connector, all these things are taken care of. Once the setup is completed, you will be able to control your home automation from anywhere in the world. As long as that place has internet access…
- User Management: It provides you with the ability to create different users and assign privileges.
- Smartphone Notifications: There are bindings that allow you to send push notifications to cell phones but most of them would make you pay for a service to get unlimited messages. This functionality is now natively integrated into the OpenHab Cloud.
- oAuth2: Integration with services that require oAuth2 authentication like IFTTT or Amazon Echo.
Are you concerned about privacy or downtime in the OpenHab Cloud?
It is a reasonable concern, you are introducing a new point of failure in your implementation. In my opinion, the advantages clearly outweigh the risks. The OpenHab Foundation does a great job keeping the cloud secured and running. I have been using the service for a year and I haven´t experienced any downtime so far.
OpenHab Cloud Connector: Installation Process
1. Install the OpenHab Cloud Connector Binding
- Open PaperUI and go to Add-ons.
- In the section Misc, look for OpenHab Cloud Connector and install it. It should take just a few seconds.

2. Get Secret and UUID from your OpenHab Setup
In order for the OpenHab cloud to identify your server, we need to provide it with UUID and Secret.
1. SSH into your OpenHab server and execute the following command to get the UUID.
cat /var/lib/openhab2/uuid ; echo
2. Execute the following command to get the Secret
cat /var/lib/openhab2/openhabcloud/secret ; echo

Save these details somewhere. You will need them for the next step.
3. Create an account at myopenhab.org
We are almost there. The last step is to create an account at https://myopenhab.org/.
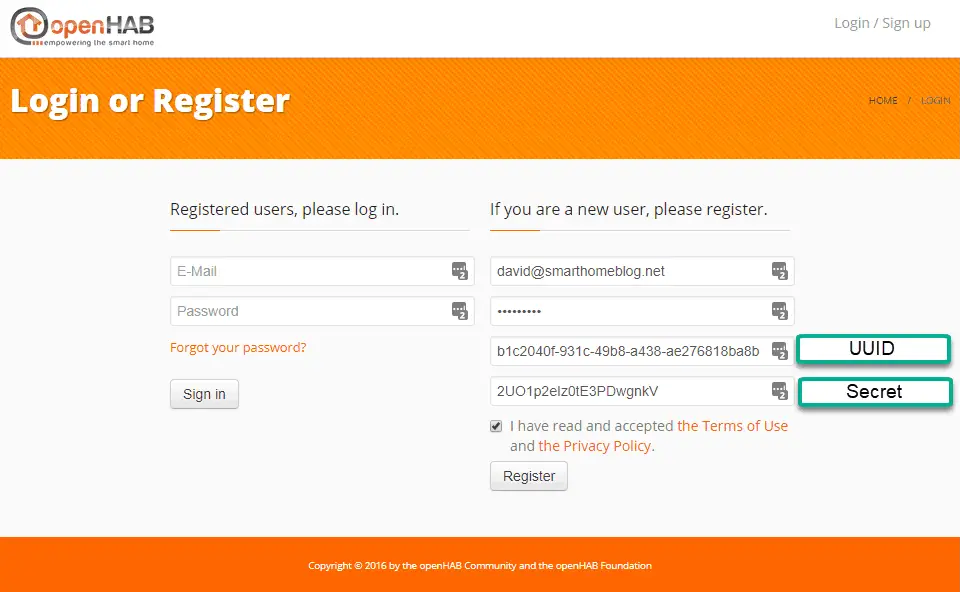
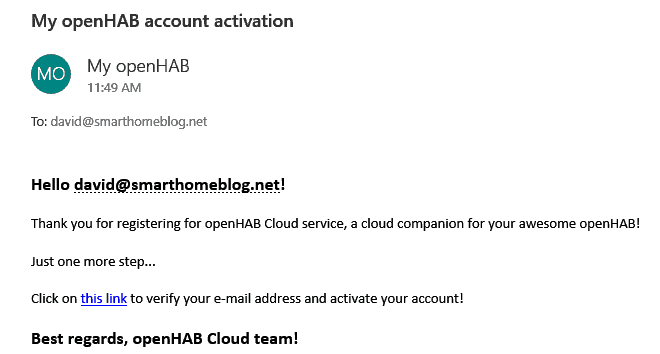
The screen is pretty self-explanatory. You just need to introduce the login details (email and password), UUID and Secret. After clicking Register, you will get an email to confirm your account.
For the changes to take effect, you will have to restart OpenHab.
sudo systemctl restart openhab2
After OpenHab is back up and running, go to https://myopenhab.org/ and input the login details. If everything went OK you will see a screen like the one below.

I hope you found this useful. Please let me know if you find any issue during the installation process.


Hi Jason,
I forgot to put than on the tutorial.
You need to add the items that you want to expose to the config of the binding on PaperUI otherwise they won’t show up.
You can email me if you need extra help.